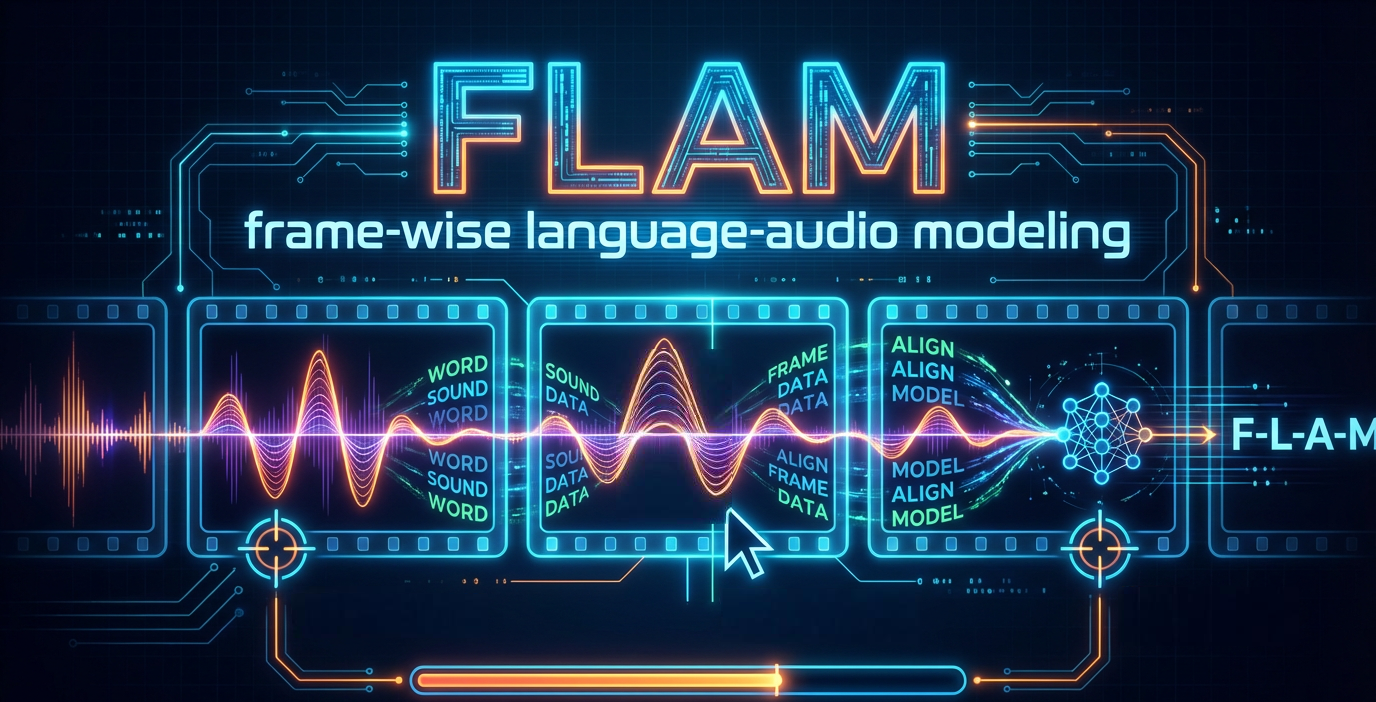
FLAM is now Open Source! We’re releasing OpenFLAM, the companion code to our ICML 2025 paper Frame-wise Language-Audio Modeling.
This way of spiraling around the sun is getting out of control.
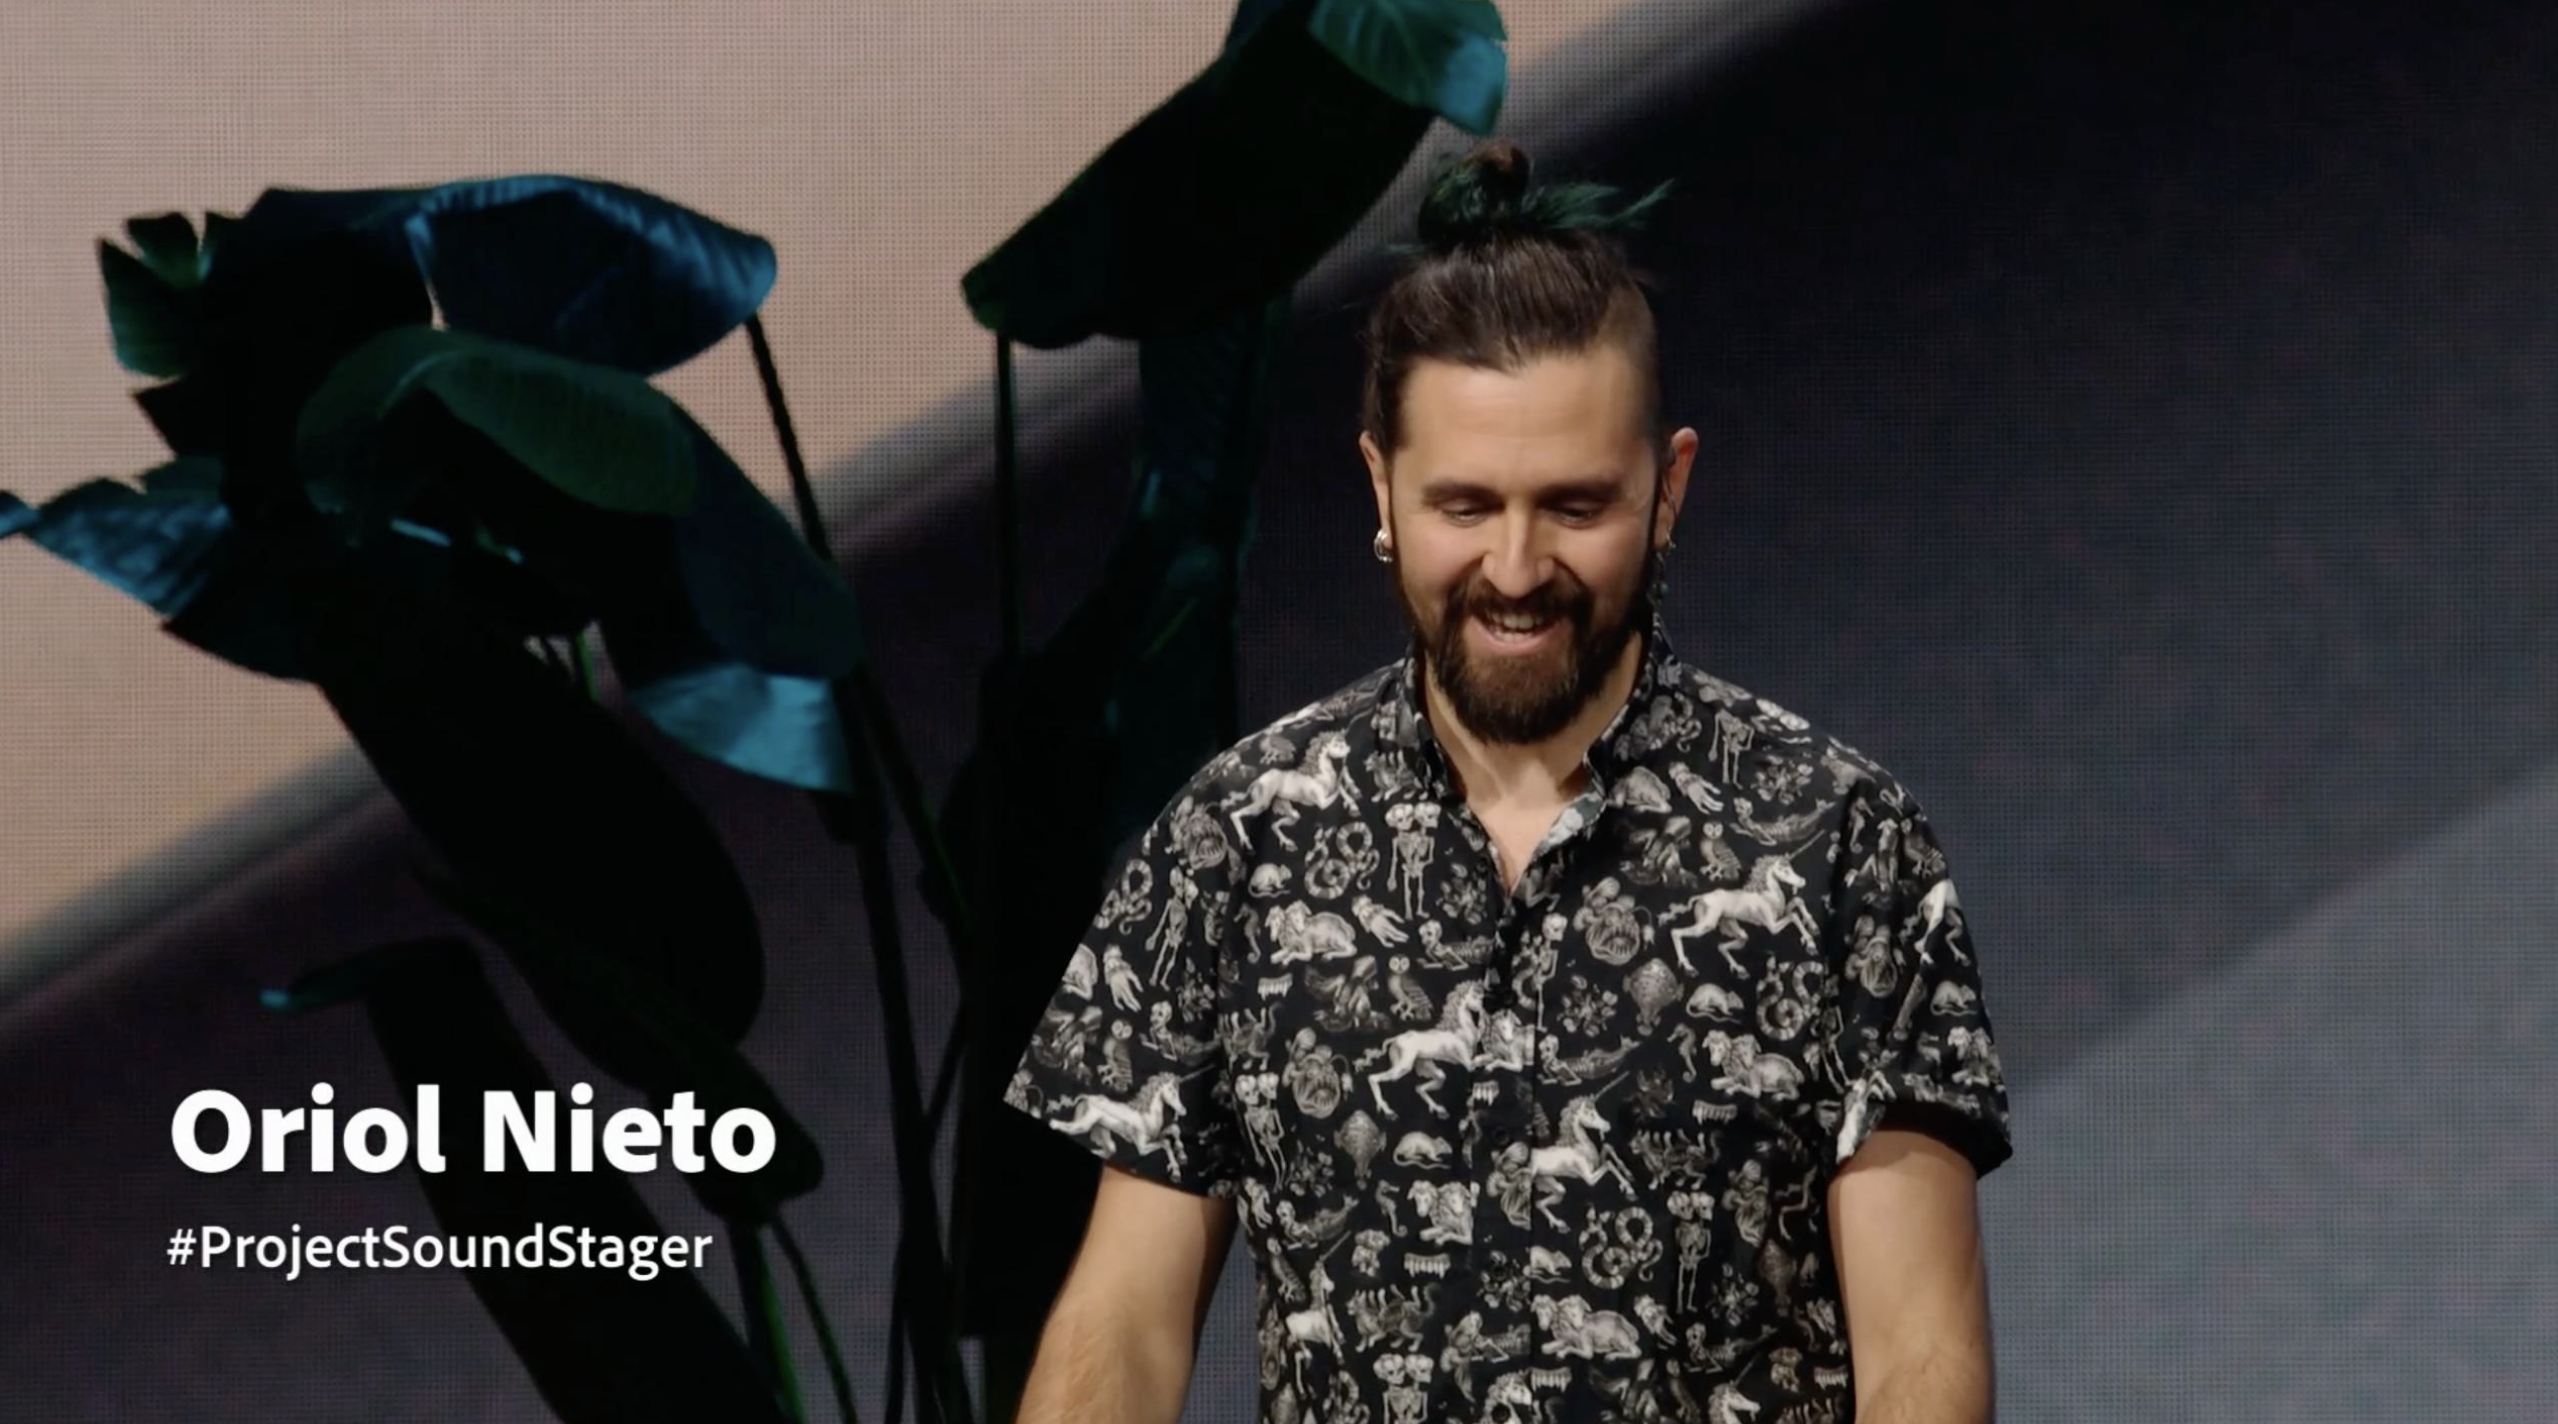
This week Adobe MAX took place in Los Angeles, the magical land of entertainment and always summer, and I had the absolute honor to present one of this year’s Sneaks: #ProjectSoundStager, a full agentic workflow for AI-driven sound design for video!
And just like that, the year 12,024 of the Human Era is over.
Well, we did it. After more than two years in the making, ISMIR 2024 is over.

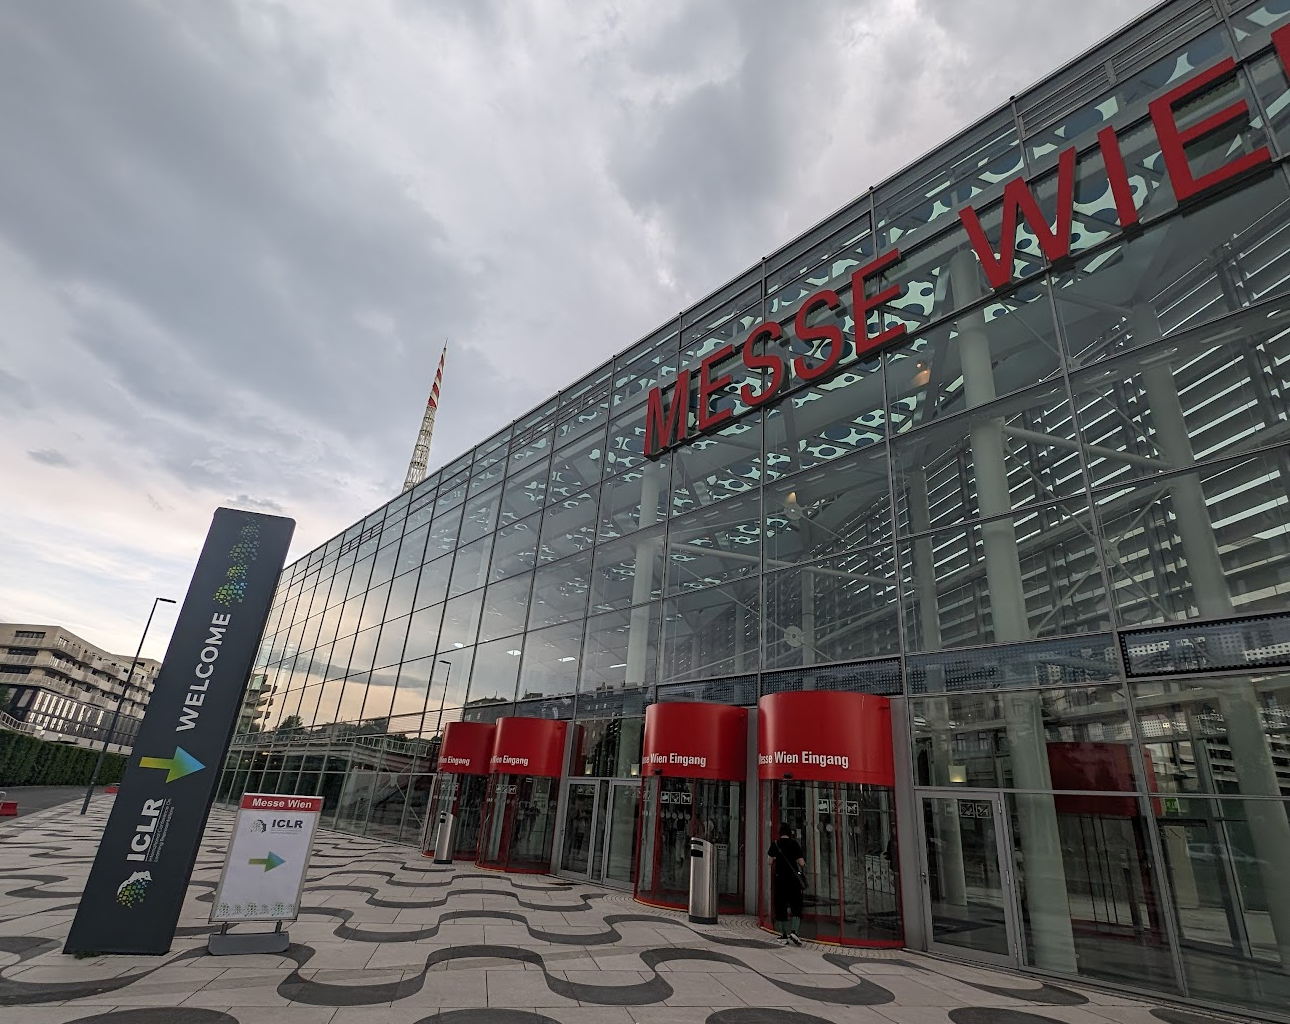
Well, hello Vienna! The 12th International Conference on Learning Representations (ICLR) was held at the massive Messe Wien Exhibition Congress Center in the heart of Vienna, Austria just last week and I had the pleasure to attend in person.
Bye year 12,023 of the Human Era, and welcome 12,024. Before the pandemic things were going way too fast and months basically felt like weeks.
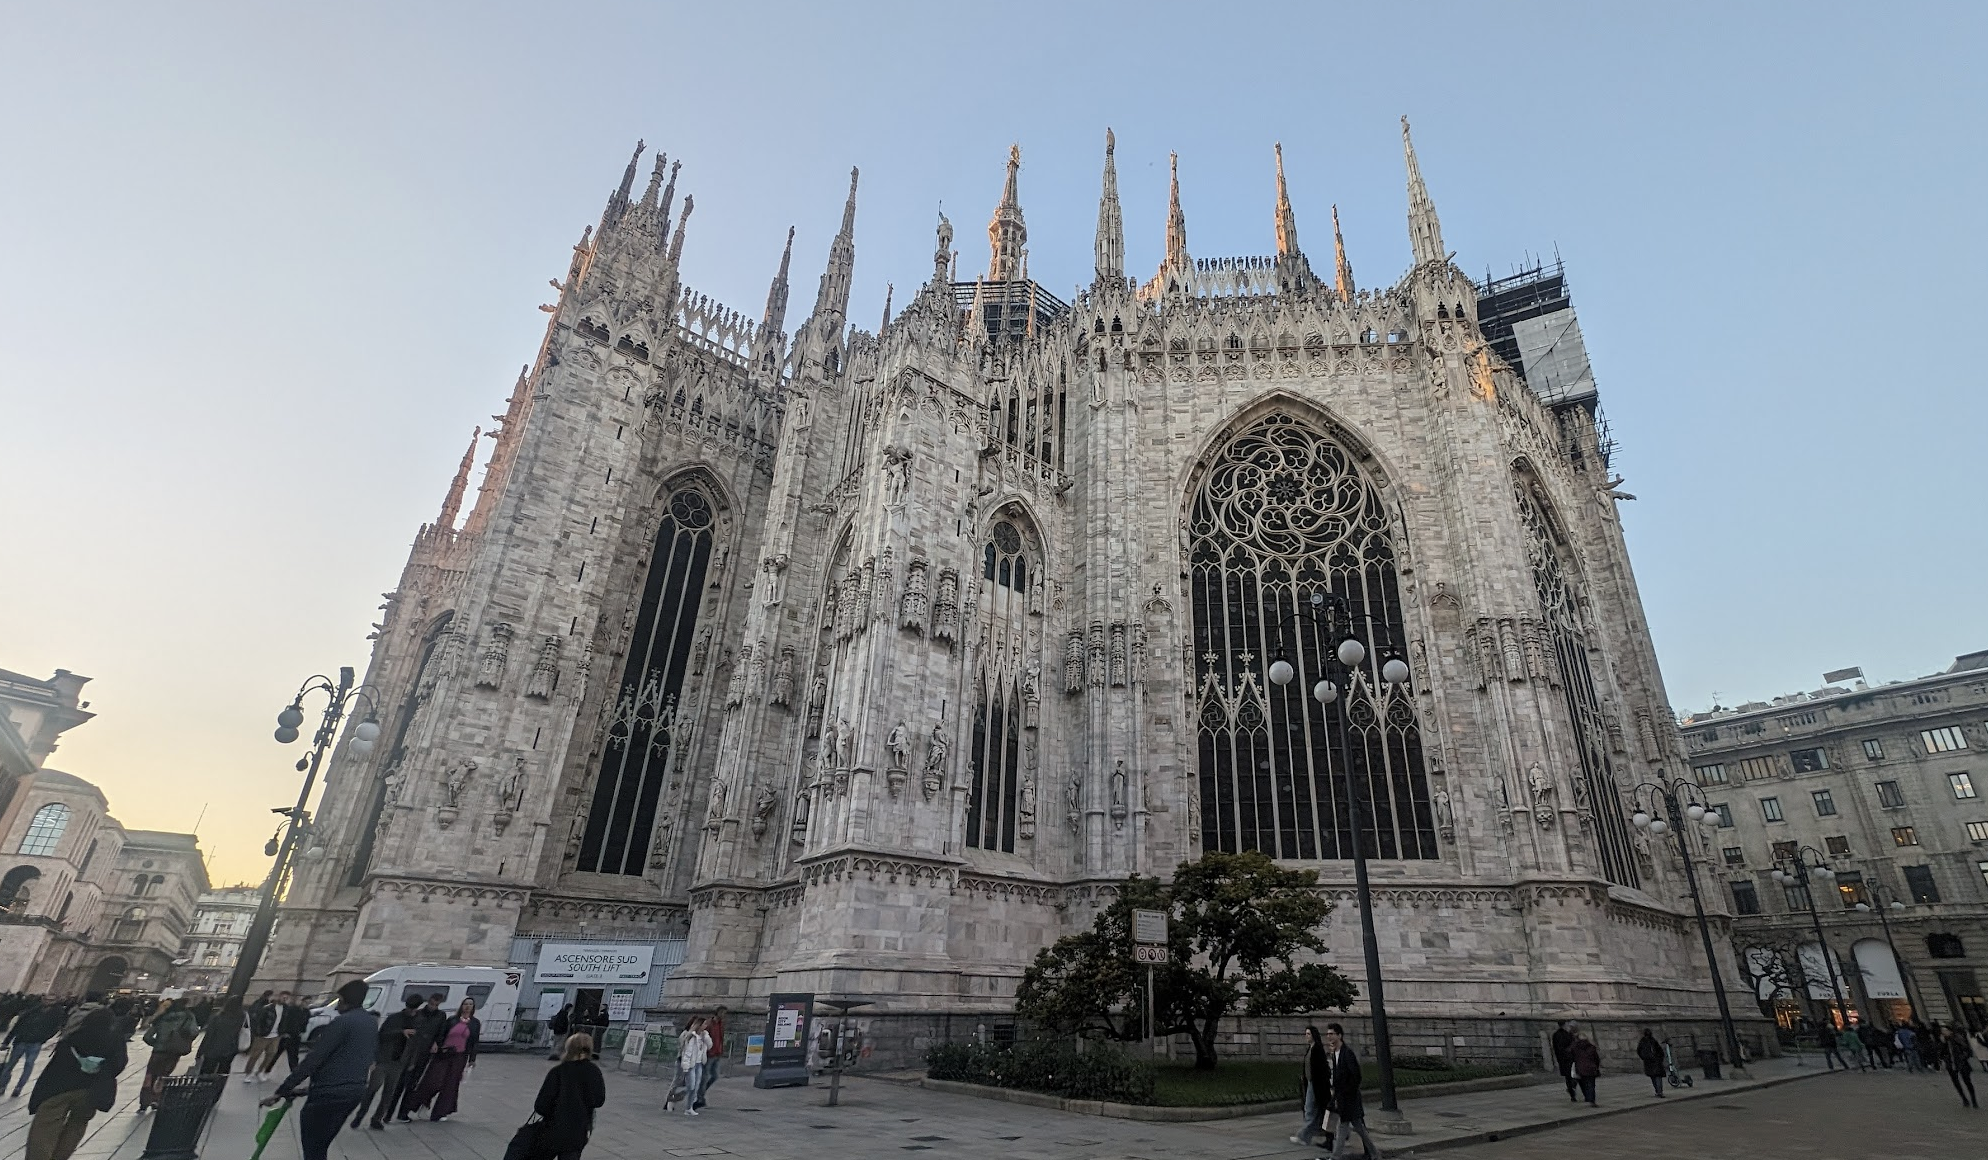
ISMIR is back in full swing with over 400 registrations, most of them in-person attendees in the beautiful city of Milan.